First steps
1. Get familiar with the documentation and browse the FAQ
Before you begin, it’s helpful to understand what our documentation looks like and what you can find in it. Also, take a look at the frequently asked questions. You might find answers to your own questions - saving you time and helping you get all the necessary information.
2. Fill in your contact details
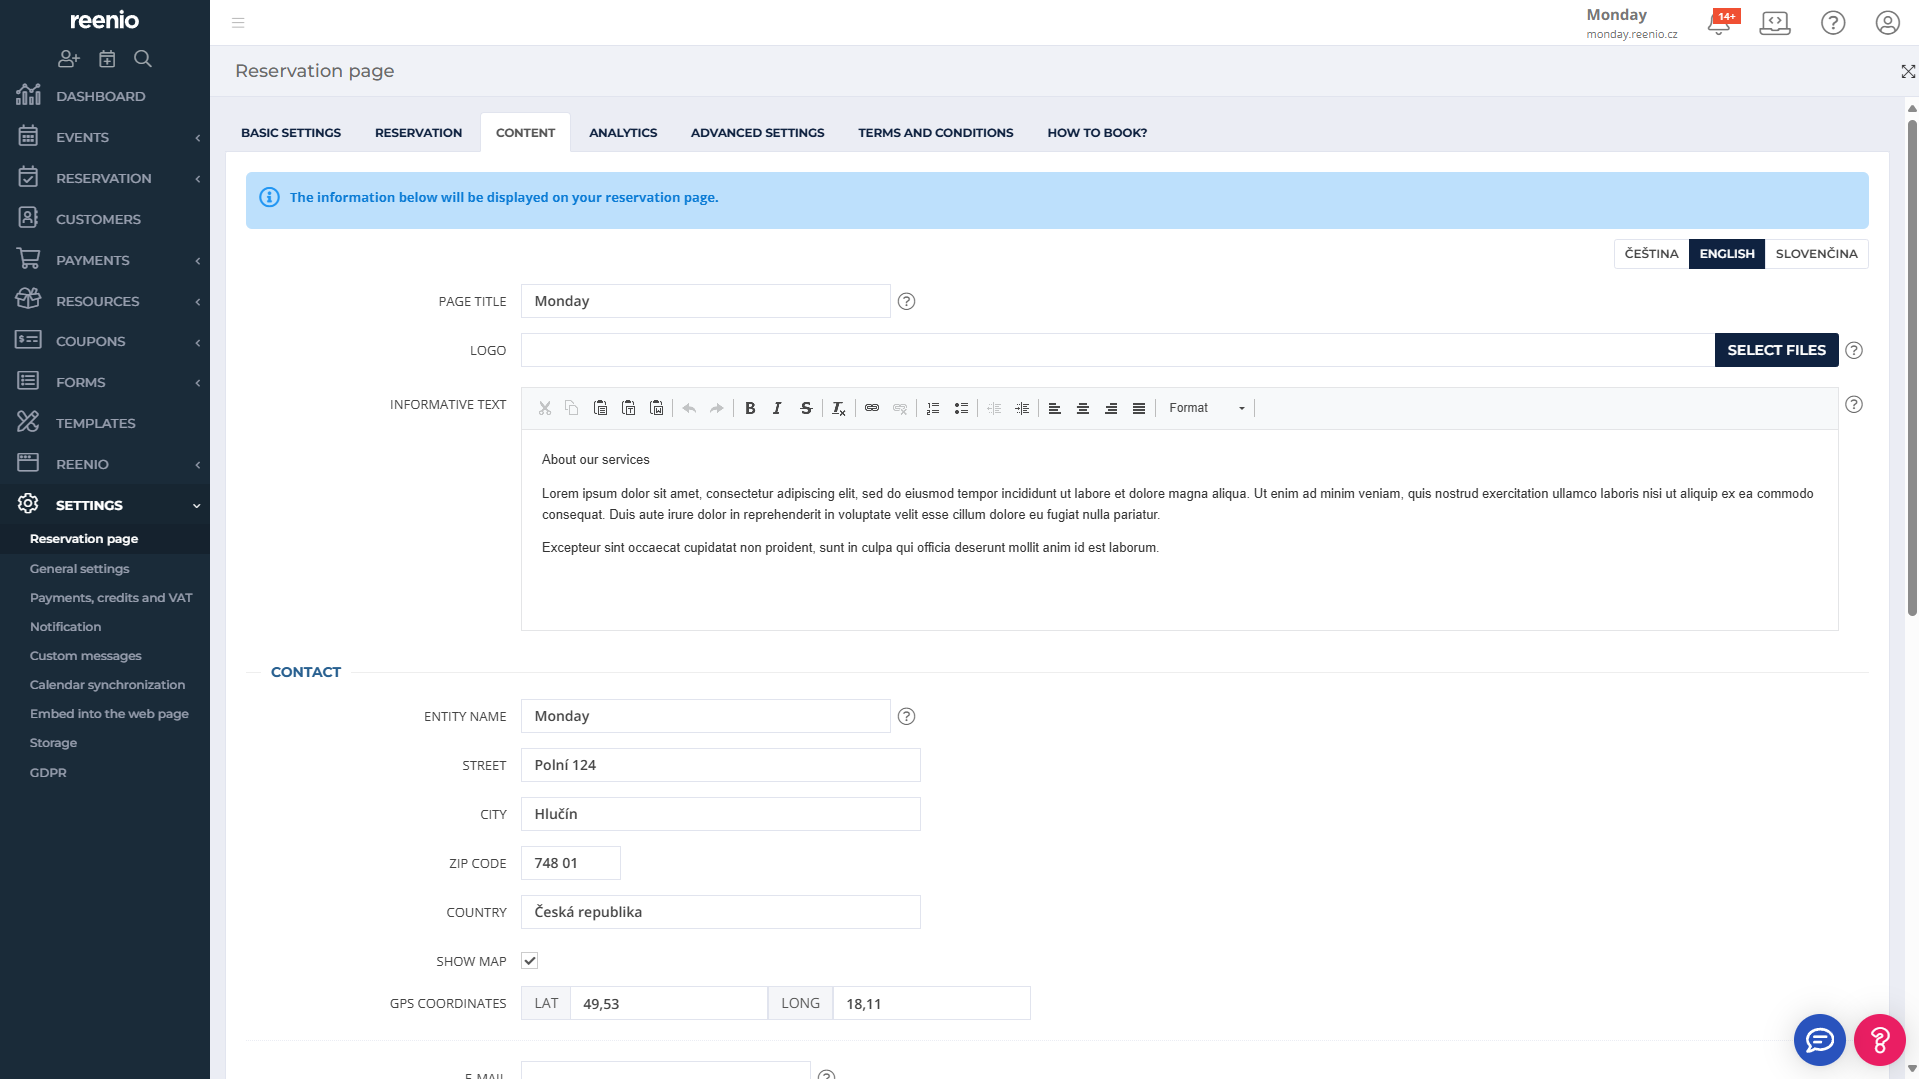
In the section Settings – Reservation Page – Content, fill in the required information about your business entity and offerings. These details will be displayed on the reservation page and will be visible to all visitors. Of course, you can change them at any time in the future.
3. Creating staff, locations, services (optional)
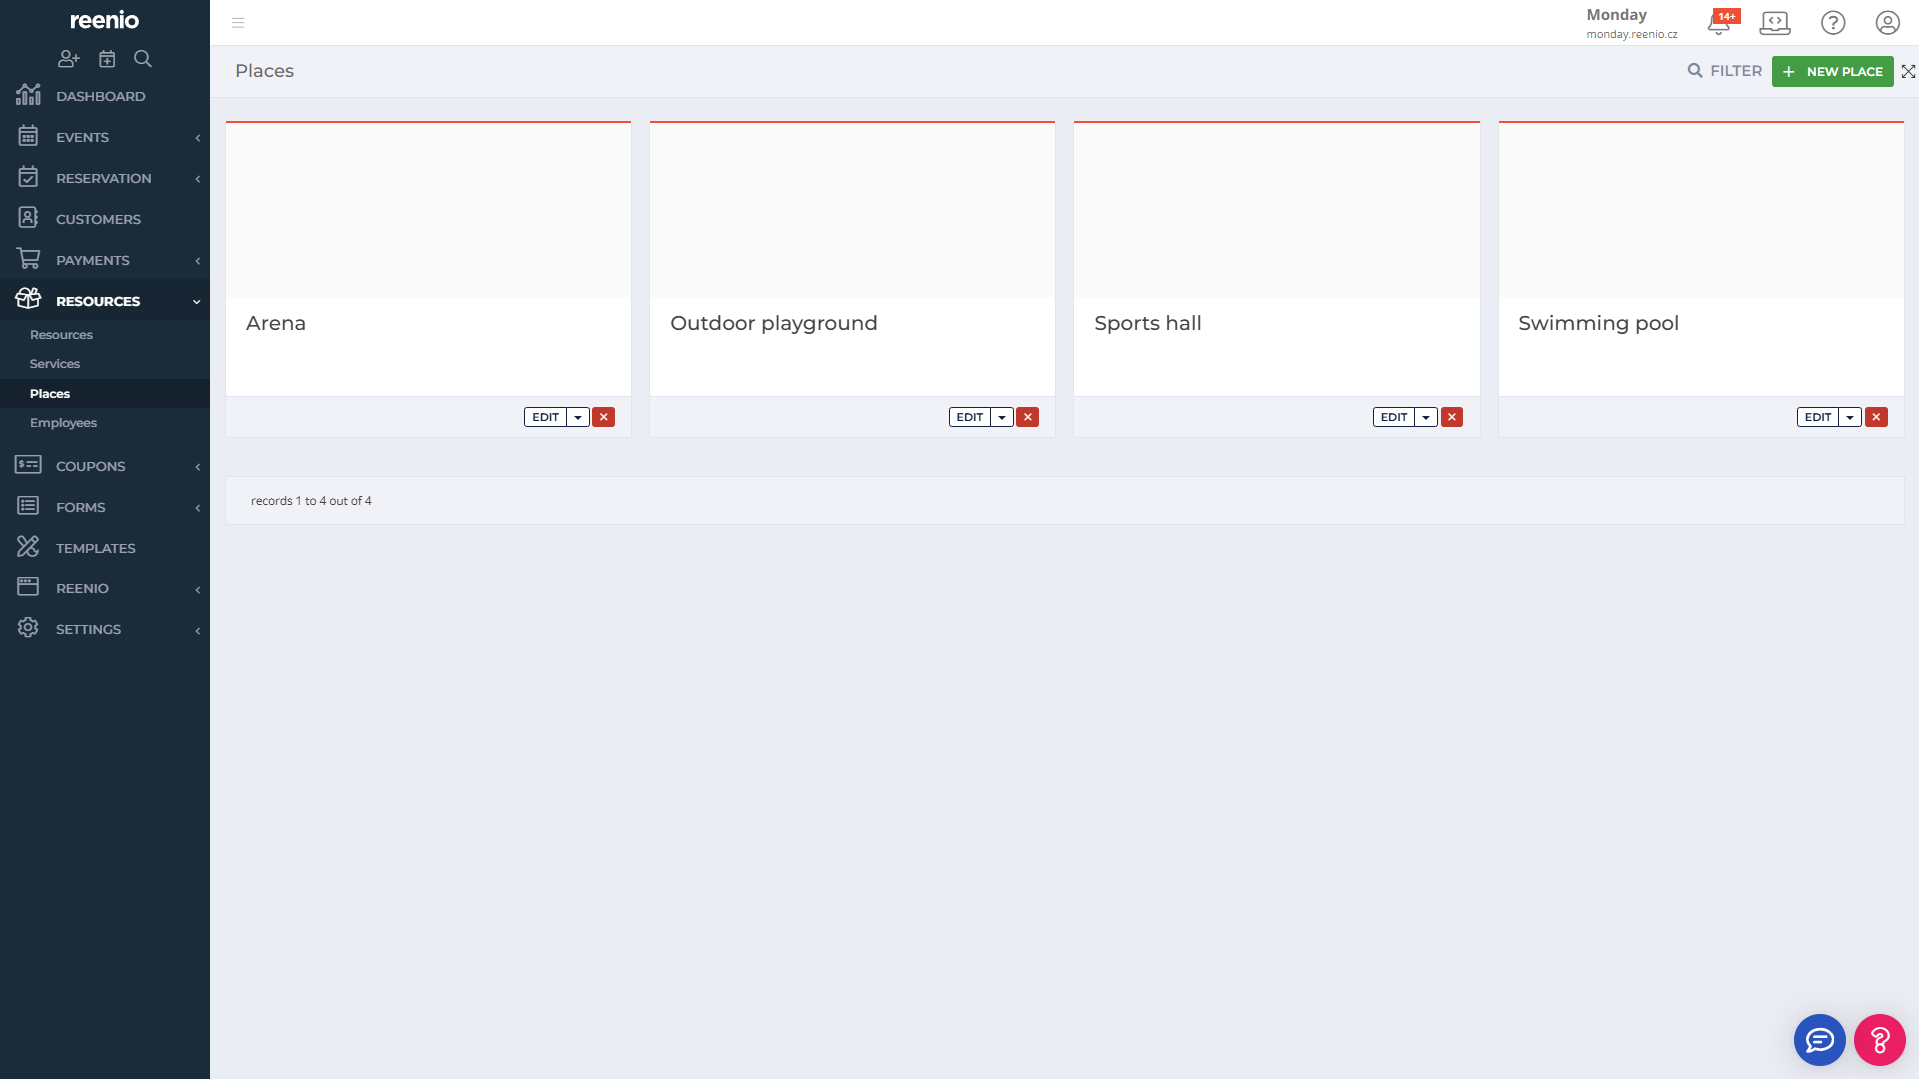
Next, go to the Resources section. Here, you can create the basics for what will be offered for reservation in terms of What, Where, and Who. You can create Locations, Services, and Employees who will be available for future bookings. It’s not necessary to set up everything - just what’s essential for your business model and reservation offerings. Initially, it’s enough to create the required items with just a name; you can fill in additional details later.
This step is not mandatory - you can create reservation offerings without defined Locations, Services, or Employess. However, thinking through your operational model, structuring your offerings, and defining key elements will make system setup and future administration easier. If you also plan to use the collision monitoring functionality, then this step is important for you.
4. Creating resources
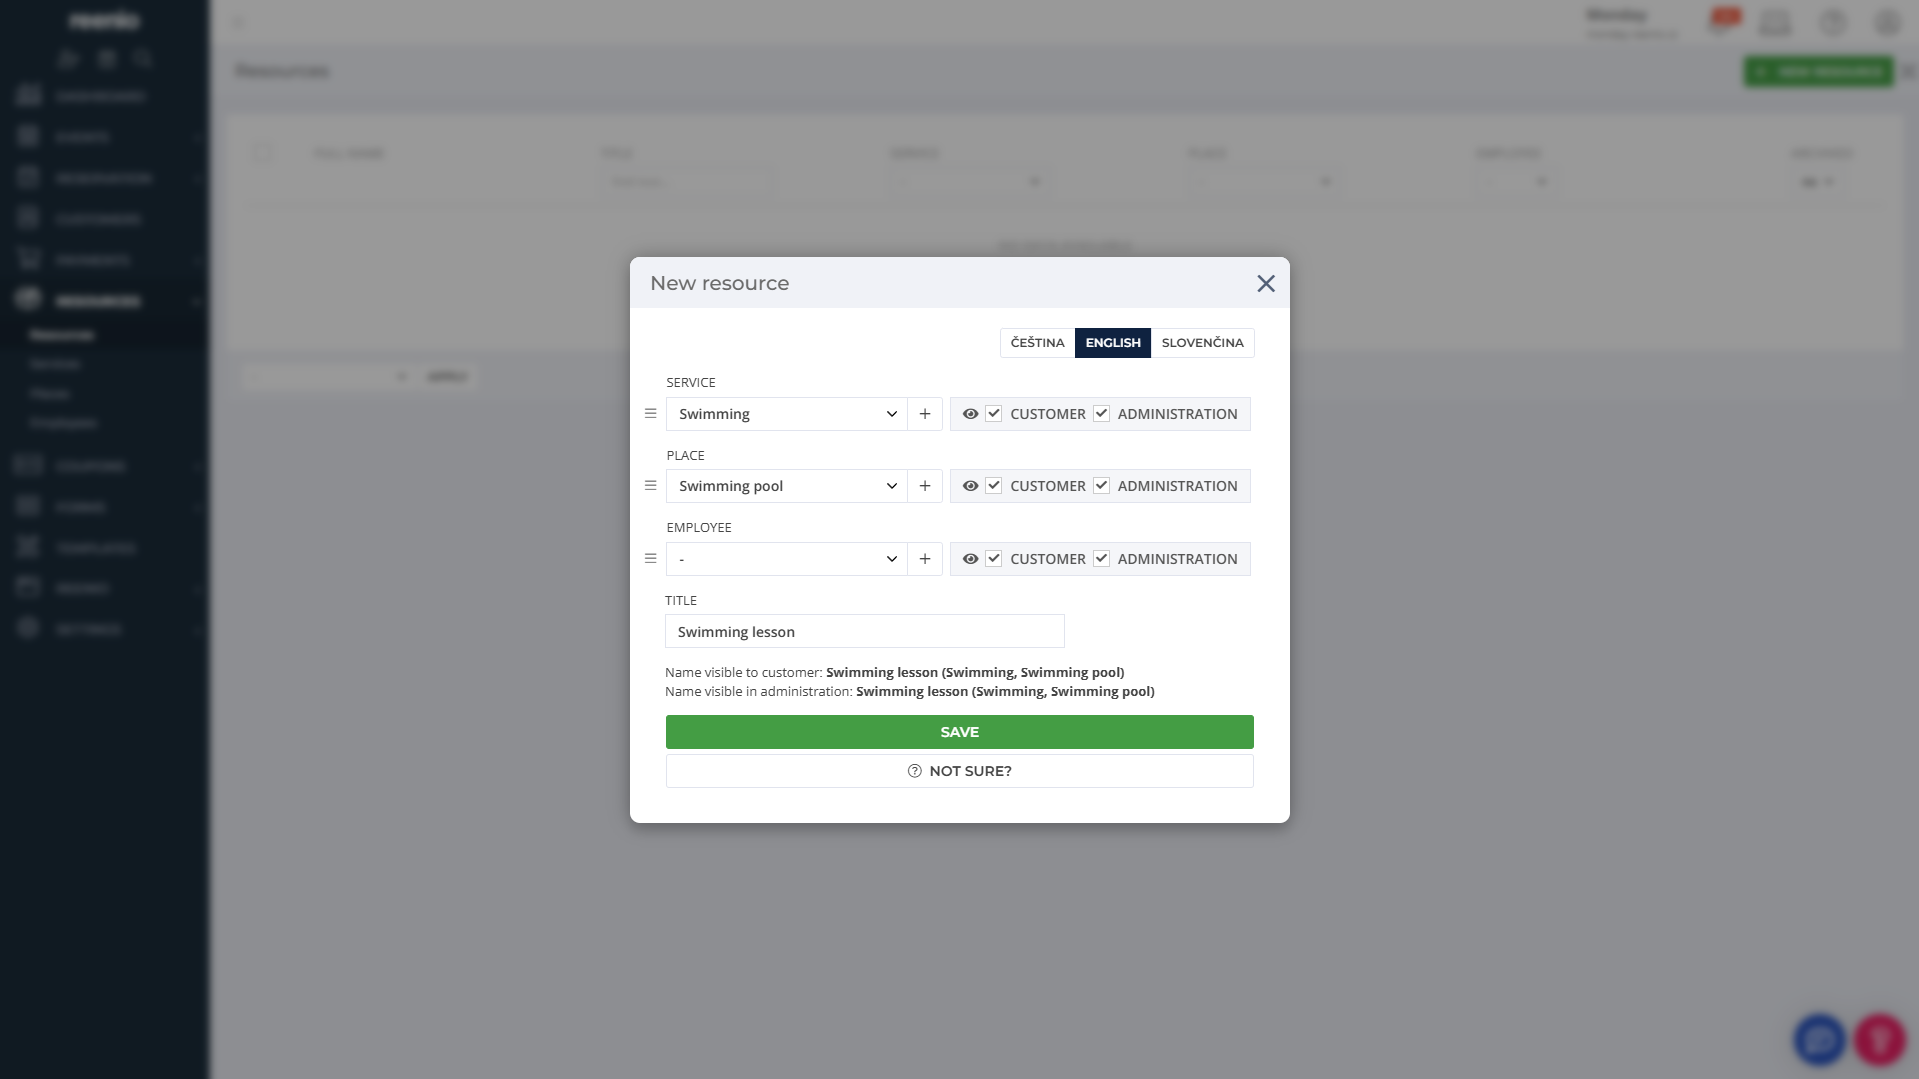
The next step is to create the actual Resource. You can use elements from the previous step, but it's not required. In the menu Resources – Resources, create a new resource. Enter its name and optionally select a location, service, and staff member - if you chose to use and created them earlier. Save the resource and it will be ready for use in the following steps.
5. Selecting the event type
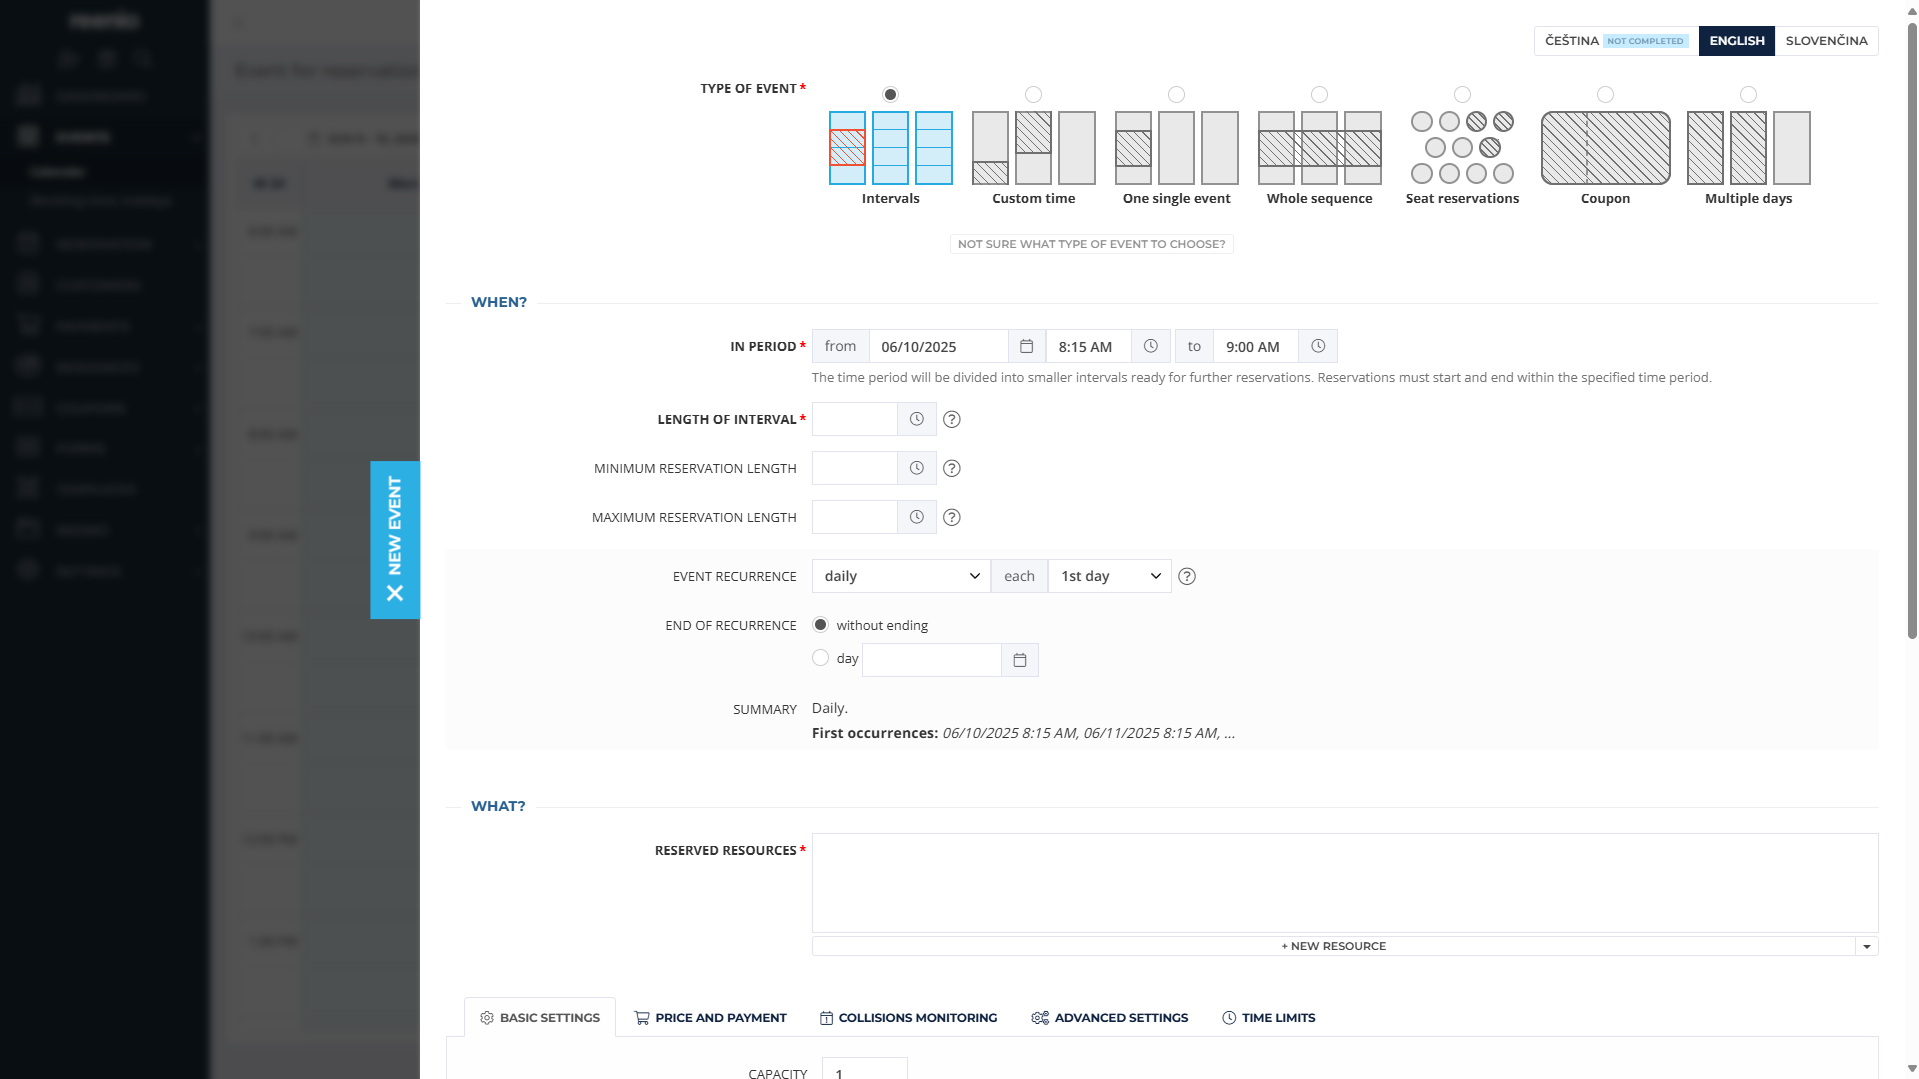
A key step is choosing the correct type of event. We recommend reviewing the available types and their intended use. In the menu Events – Calendar, click on the desired day and time in the calendar and select New event. Before filling out any details, you must first choose the appropriate event type, as the parameters and fields differ depending on the type. For a more detailed description and usage examples, click the button below the type selection.
6. Creating an event
Once you have selected the appropriate event type, you can proceed with configuration. Typically, you’ll need to specify when the event takes place, its duration, whether it repeats, and assign the resource created in step 4. You can also set the capacity, add customer information, or choose a color in which the event will be displayed.
With these steps, you have created your first appointment, which can now be booked via the reservation page. Even though the system offers a wide range of options and settings, it’s good to think ahead and configure the following:
7. Timing settings
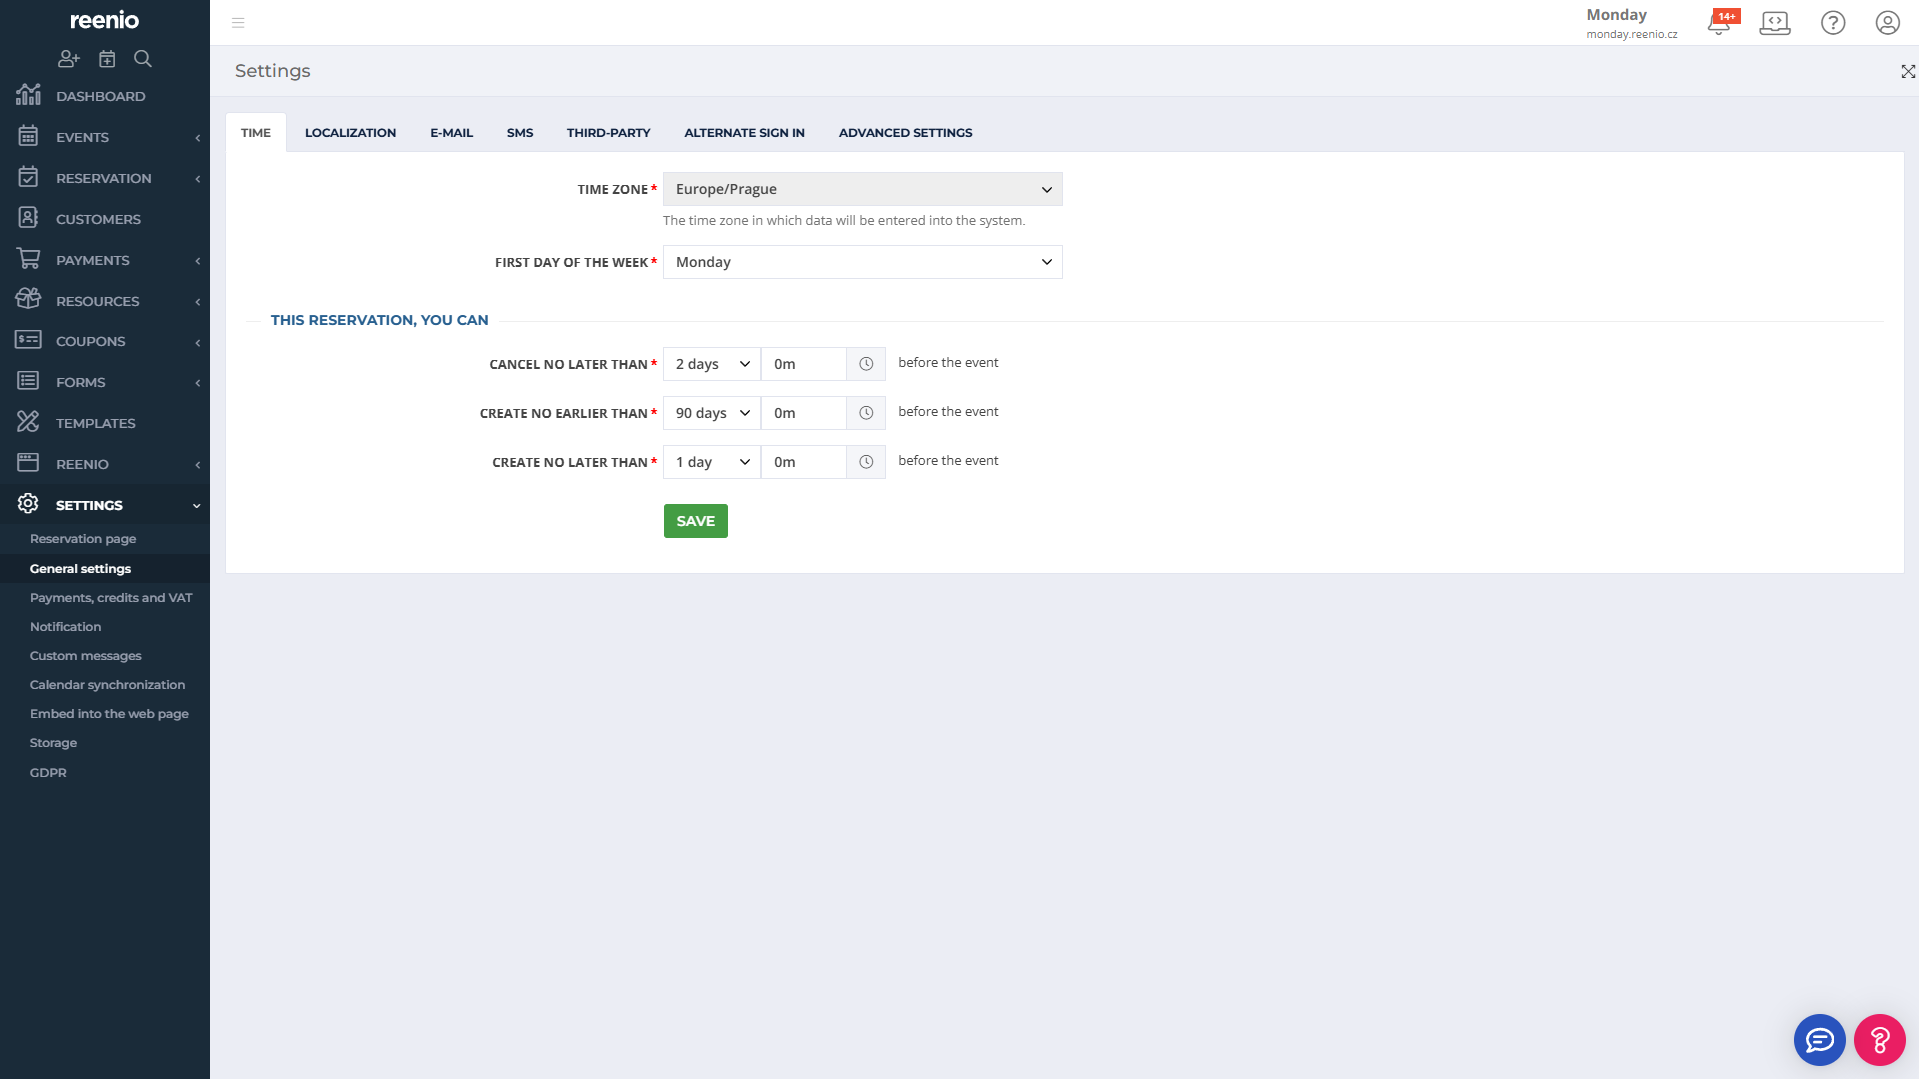
Timing defines from when to when reservations can be created and until when they can be canceled. This is primarily a global setting, meaning it applies to all events. You can find it in Settings – General Settings – Time.
8. Reservation notification settings
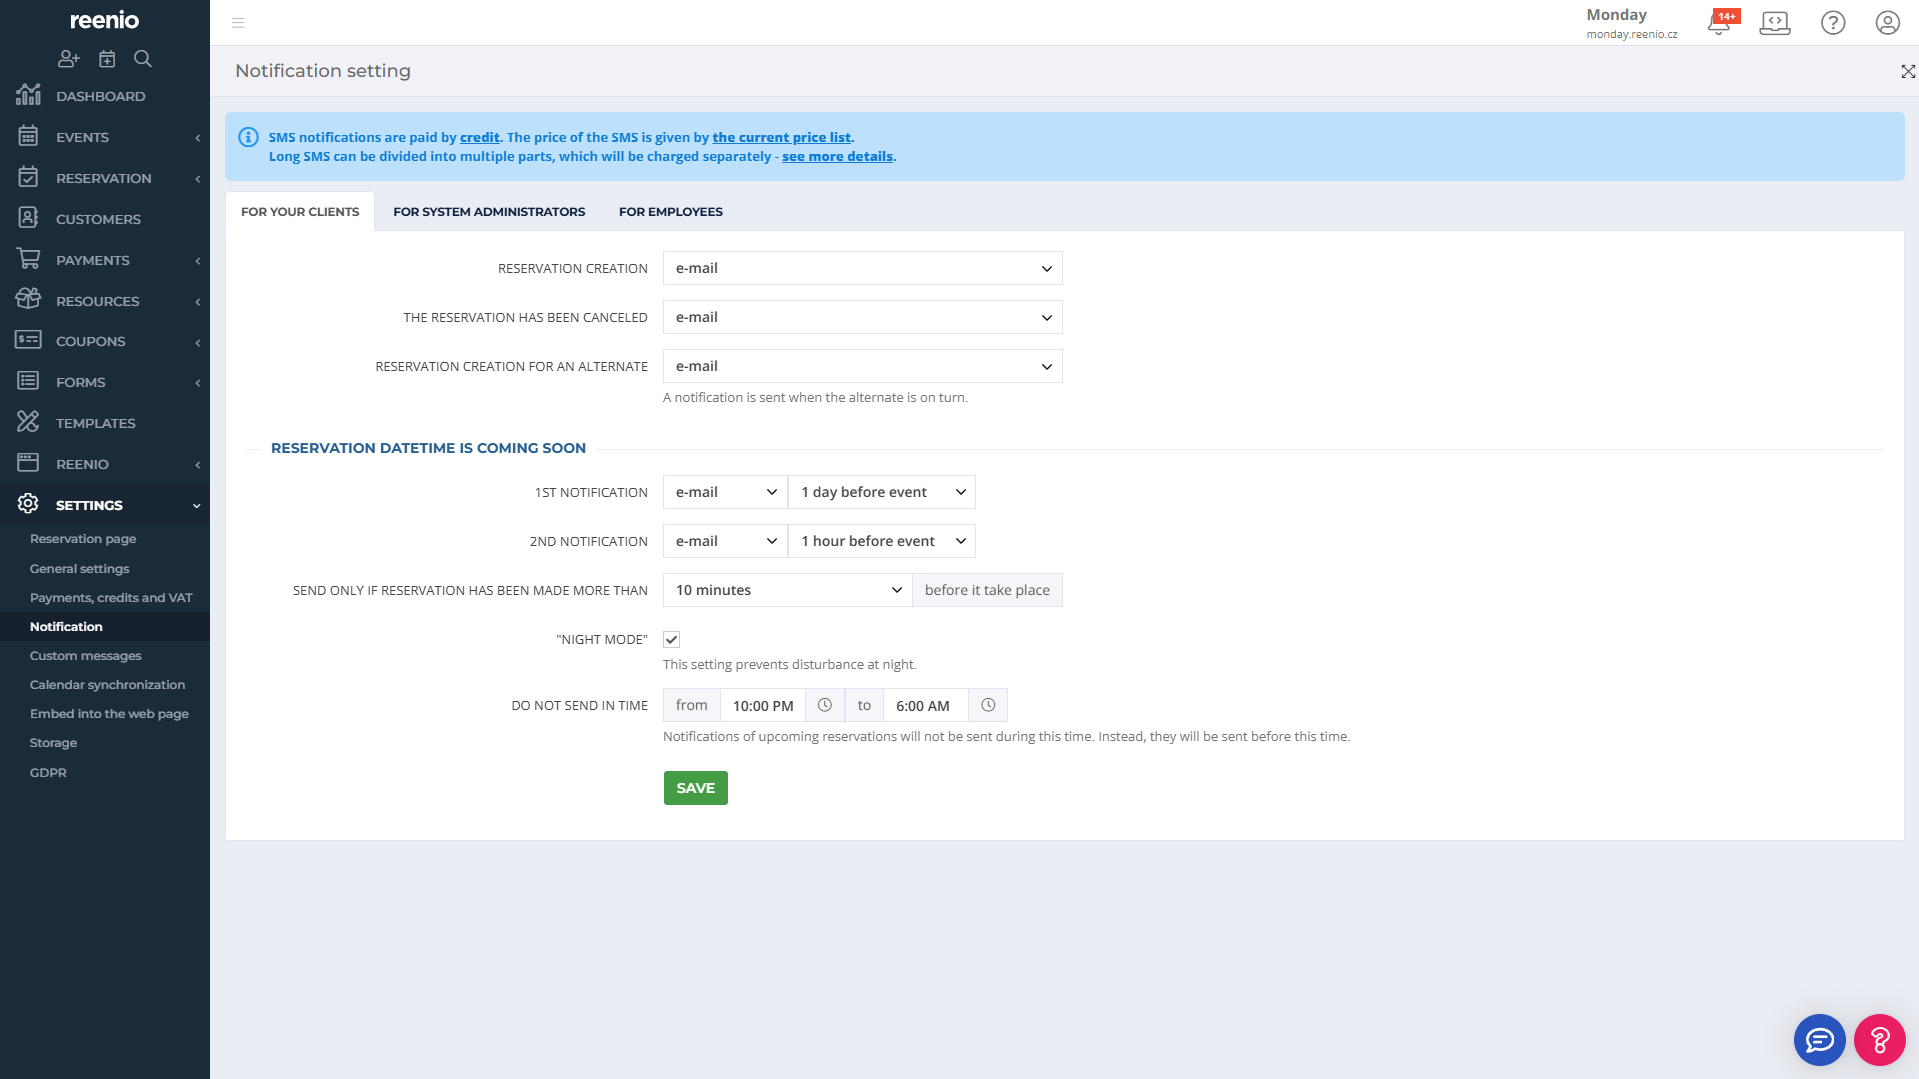
Another key feature of the system is the sending of notifications—not only to customers but also to administrators. Notifications can be sent by email or SMS and cover reservation confirmations, cancellations, and reminders. By correctly setting this in the menu Settings – Notifications, you’ll ensure everyone stays properly informed.
9. Customizing the reservation page appearance
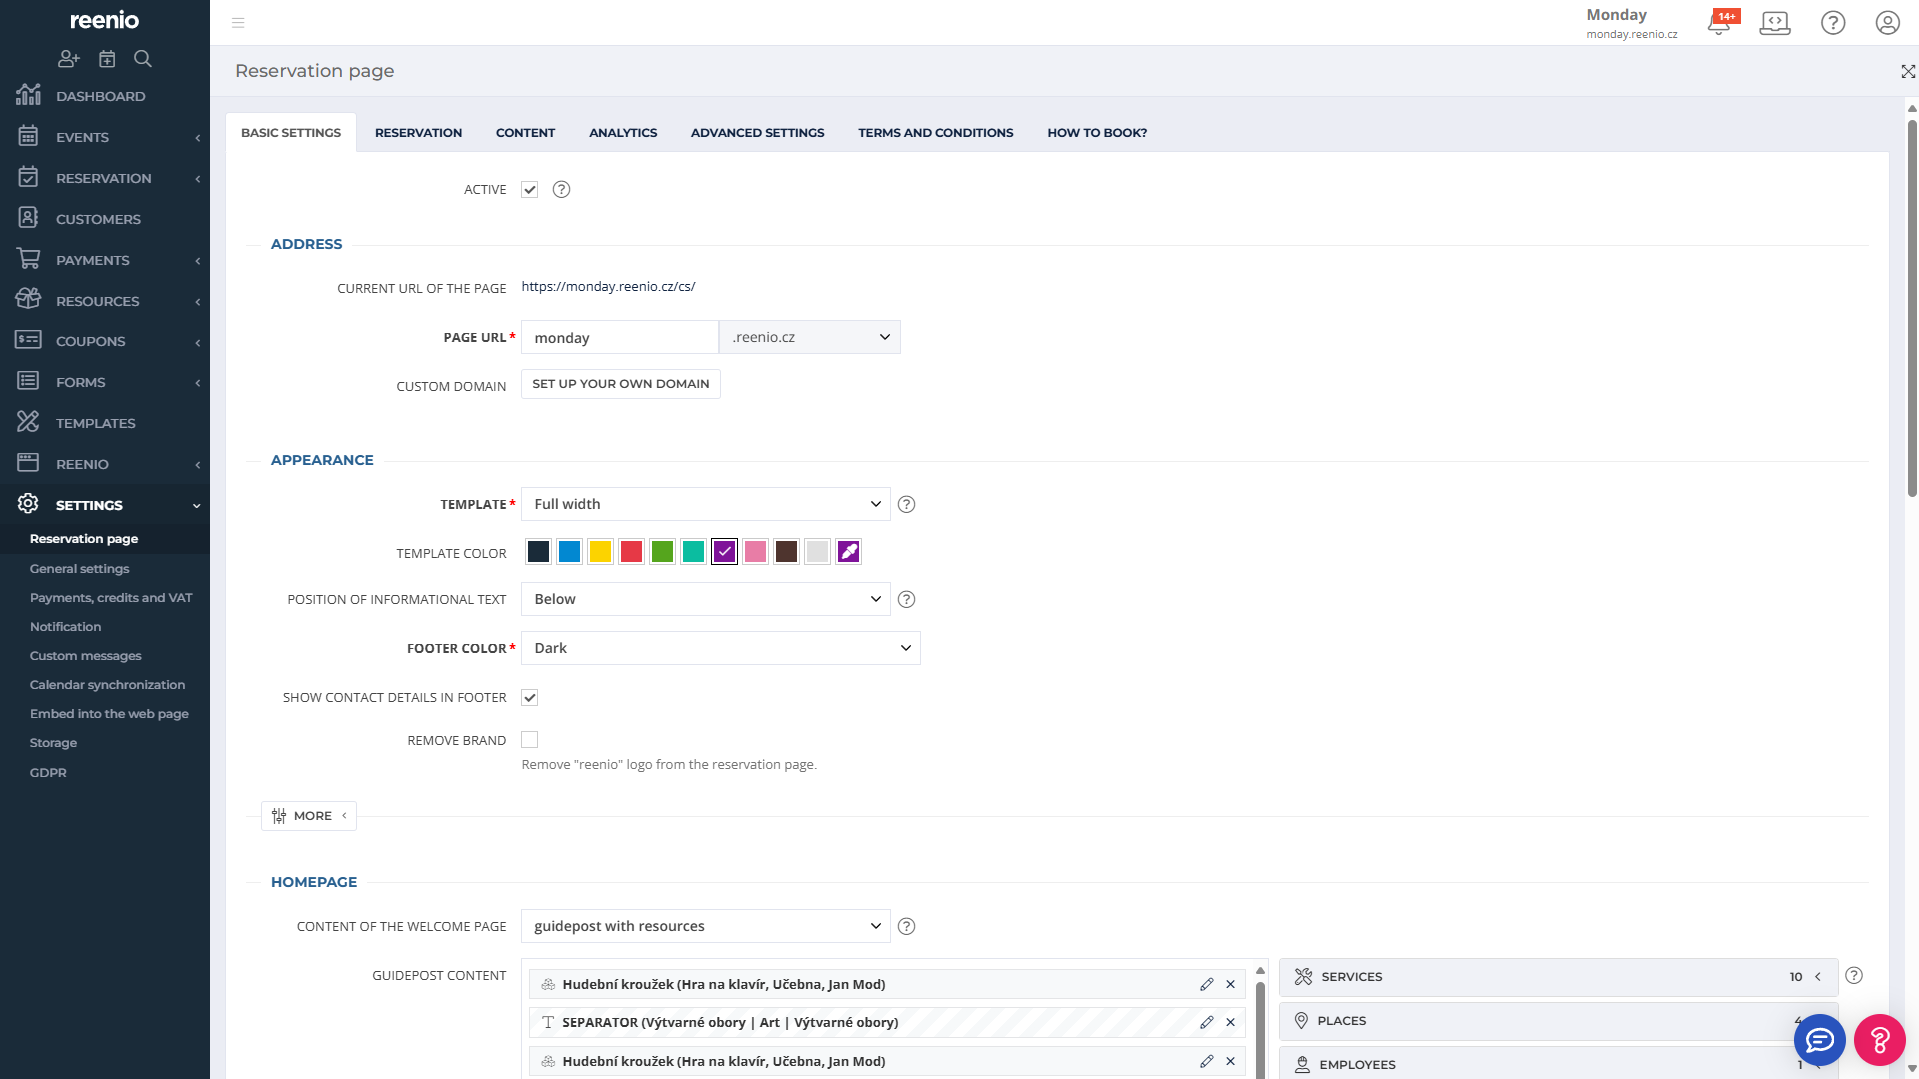
Different types of reservations and businesses require different layouts for presenting offers. If you’ve completed the steps above, now is a good time to customize the appearance of the reservation page to your needs. You can do this in Settings – Reservation Page – Basic Settings, where you can choose from several display and functional layout concepts.
10. And what's next ...
The steps outlined above are just the initial basic setup that allows you to start creating your first reservations. The system offers a wide range of additional features and settings, from various appointment types to the use of online payment gateways, gift coupons, or smart lock integration. It's now entirely up to you how you explore and configure the system, and which additional features offered by reenio you choose to use for your business. If you have any questions, feel free to contact our helpdesk@reenio.com.